Roll With It - Quick Quilts With a Jelly Roll
Posted on
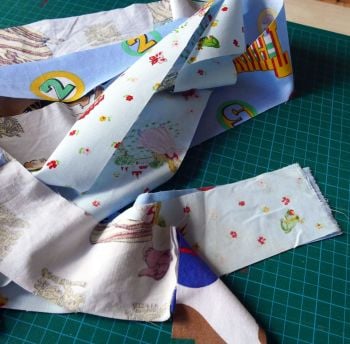
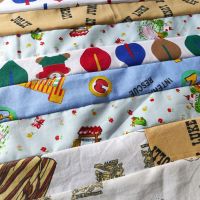
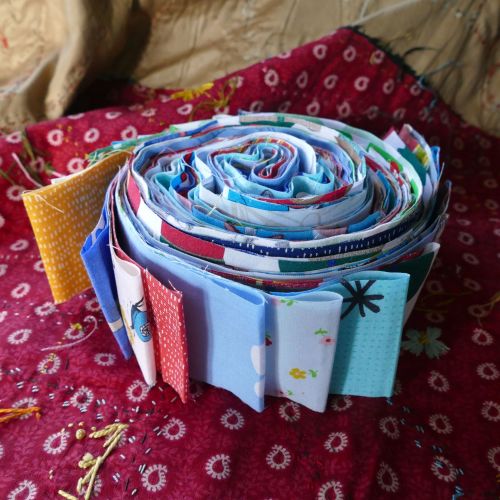 I love a jelly roll* because it offers a way to make a super-fast quilt top and I’m often surprised by the pattern combinations that happen. In this blog I’m going to celebrate creating my vintage jelly rolls by explaining two really easy ways to use the strips to make a quilt top – so easy, you could have one finished in an afternoon – really.
Jelly Roll Quilt One - Take the Long Way
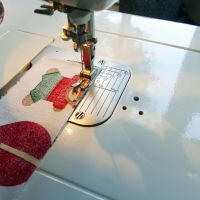
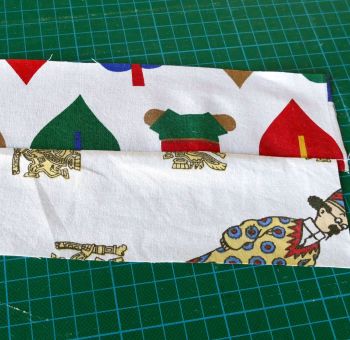
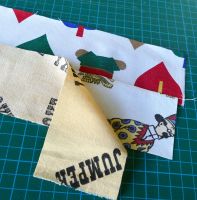
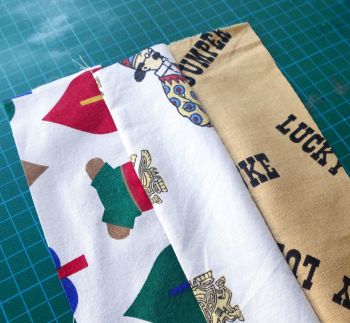
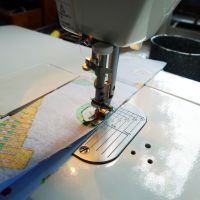
Unroll your strips and take the first one off the top, take the second strip and lay it right sides together on top of the first. Now machine the long edge with a ¼” seam allowance. We are being speedy here so don't pin, just hold the fabrics together as they feed through your machine.
 |
 |
 |
Once done, open out the two strips, take the third strip from the pile and place it face down on your second strip. Stich the long side again. And repeat for the remaining 17 or 37 strips in your roll. Once done, open out your beautiful quilt top and iron the seams flat on the back of the quilt. That’s it! You could add a border, you could cut it down for cushion covers or a bag... the choices are endless. By simply adding each strip as it comes you take the stress out of deciding what goes where and just crack on with the sewing. However, if this is really too random for you feel free to create any sequence you like!
Jelly Roll Quilt Two - The Short End
This is slightly – but not much – more complicated technique which will give you a more random pattern. This time we are going to be joining ALL the strips by their short ends to create one long strip of fabric (1,760" long in fact).
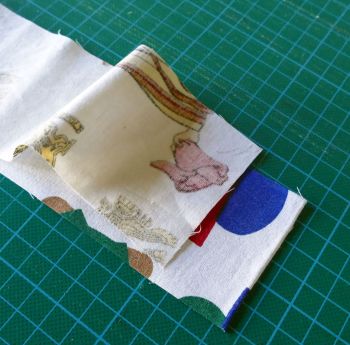
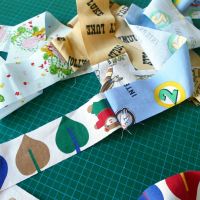
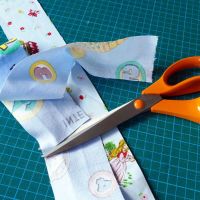
So, take your first strip, lay the second strip on top right sides together and sew the short end. Take the third strip from the pile and repeat the process, adding it to the second strip. Keep going until you have used all the strips in your roll. There's no need to double sew the ends, they will be oversewn in the next step. Once you have your super long thin strip choose one of the end pieces and cut about 19” off it – discard the cut piece.
 |
 |
 |
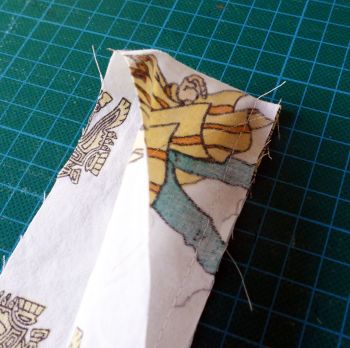
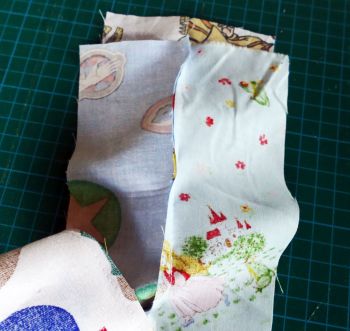
Now, take the two ends of your long strip and bring them together, right sides facing. Make sure they aren’t twisted. Stitch one of the long sides together with a ¼” seam allowance. Once done, you will have a double width strip that is half the original length. One end will have a fold, just trim it to open out the ends.
 |
 |
 |
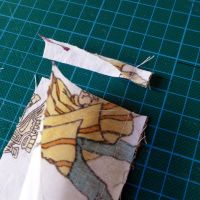
Repeat the process; open out the double strips and bring the two ends together as before and again, stitch one of the long sides. You will now have a strip that if 4 strips wide and half the length again. Trim the fold, open out and repeat. Keep going until you have 32 rows.
 |
 |
 |
Because we trimmed one of the first strips at the beginning, the joins between the strips are no longer lined up and will start to create a random sequence across the quilt. Again, once it's done simply iron the seams flat at the back and add a border.
There you go, one afternoon = one quilt! Both these techniques are perfect for beginners or anyone who wants to whip up a throw quick smart! Jelly Rolls are available in the shop.
Happy Sewing :)
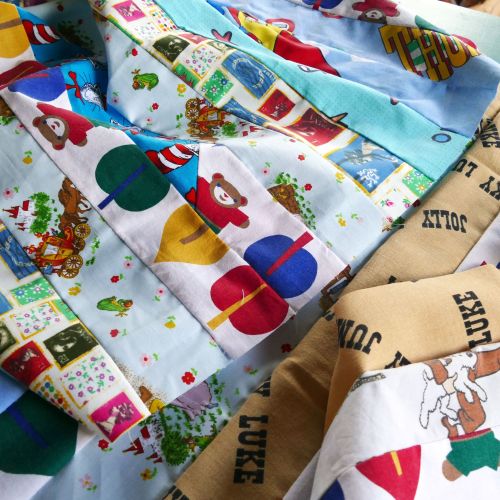
*A jellyroll is a roll of fabric strips – each one usually 2.5” wide x 44” long. In a full-size roll there are 40 strips, in a half roll there are 20. Using all 40 strips will make a quilt top of roughly 80 inches x 40 inches but you can use them in any combination to create a piece of fabric to any size.
