You know those calico bags that appear everywhere? They're cheap, re-useable and good for the planet but really...just a little bit...boring. Not any more! They are a perfect backdrop on which to add some personal style - not too big, and a good shape. I'm on a mission to brighten them up and use them to make a statement.
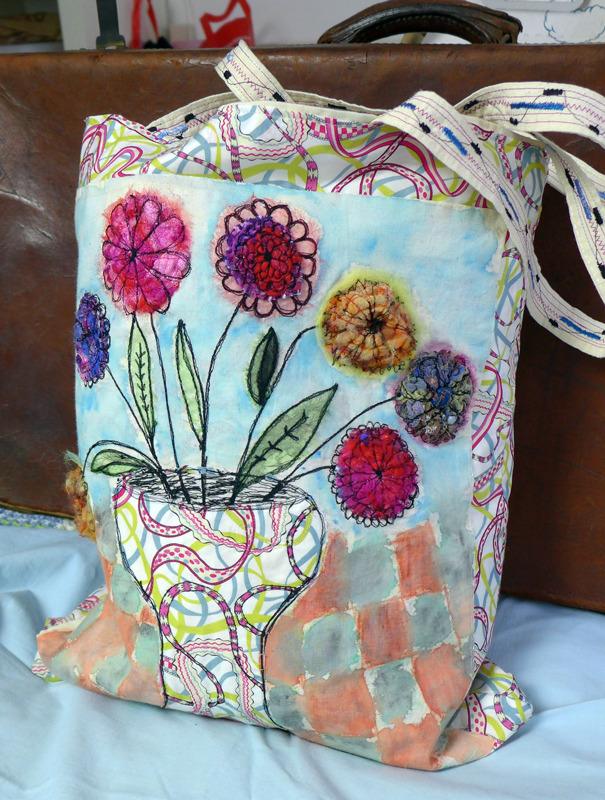
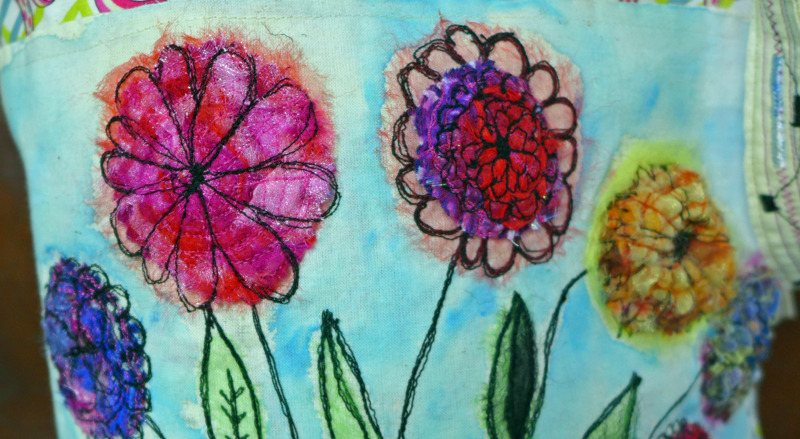
If you've got one of these bags at home then dig out all your fabric scraps and trims and start playing. It doesn't matter if it's got some printing on already - either incorporate it into your design or turn the bag inside out. It's really satisfying to see how quickly you can create a bag that's all yours. Fabric paints work really well on these totes and shoppers too - that calico is a perfect canvas for a bit of artwork. And, if you think that your design is looking just a little bit too grand for such a plain shopping bag... move on to the handles and add a lining. This bag was decorated with some free machine embroidery and a painted backdrop. I then lined it with some Liberty print cotton that was left from another project but like the lining so much that I turned the bag inside out and attached the panel to that!
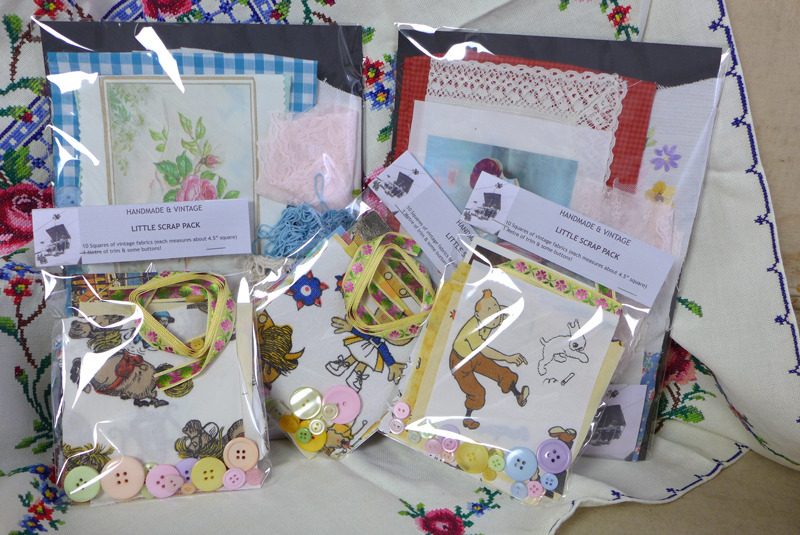
If you haven't got a bag waiting to go, or you need some extras to add to your fabric leftovers, the the new style craft sets in the shop might be a good place to start...I've repackaged them so that it's easier to see the contents and there are bags in there just waiting to be personalised and all sorts of bits and pieces to help you do it. Each one contains a vintage image printed onto cotton as well as a piece of background fabric. I'm going to be setting up a way of choosing the combination that you want via the shop soon too.
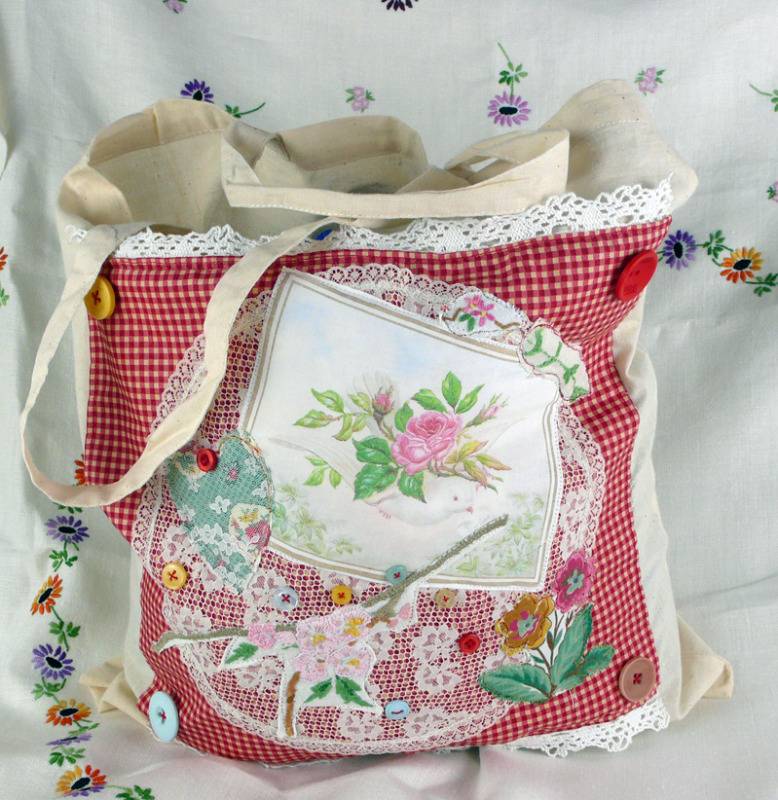 This bag was embellished by using the contents of one of the craft packs to create a panel that fits on one side. It uses scraps of lace and trims, an old doilie and the remnants from an embroidered tablecloth amongst other things. If you have some similar bits at home and want a pattern to follow then just use the guidelines below and get creating! If you've bought a pack already this is a longer version of the booklet that comes with it. If you are feeling inspired and want a pack and bag of your own then head into the shop!
Below are the steps I took to create the bag pictured ... If you make one yourself - share your pictures of your customised bags and we can cheer up the High Street one bag at a time! Either post a picture on the Facebook page or email it and I'll add it to the blog too.
|

|
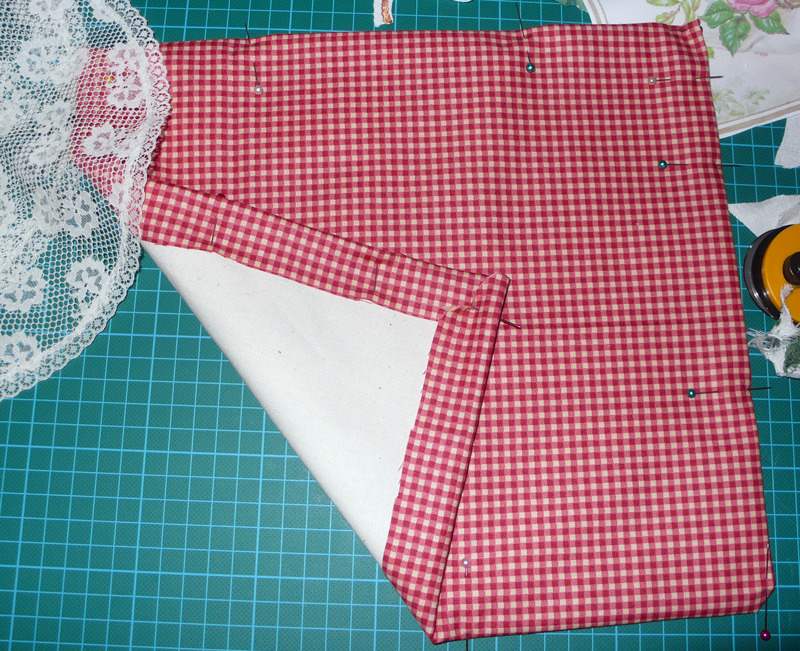
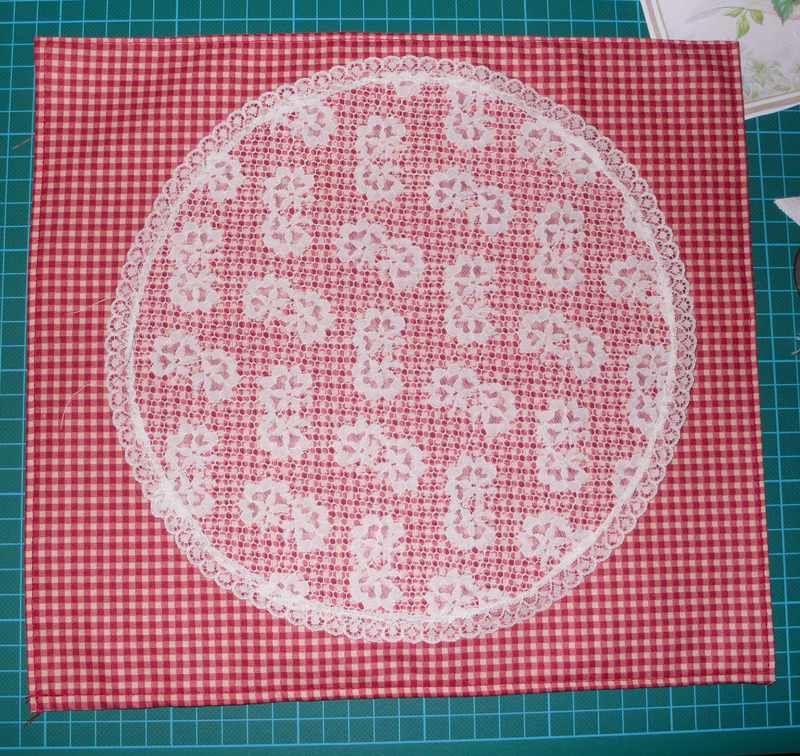
Choose a background fabric for your design and cut a square that will fit on the side of your chosen bag. Then cut a piece of calico the same size and use it to back your background cotton. This will give you a strong base to sew on to.
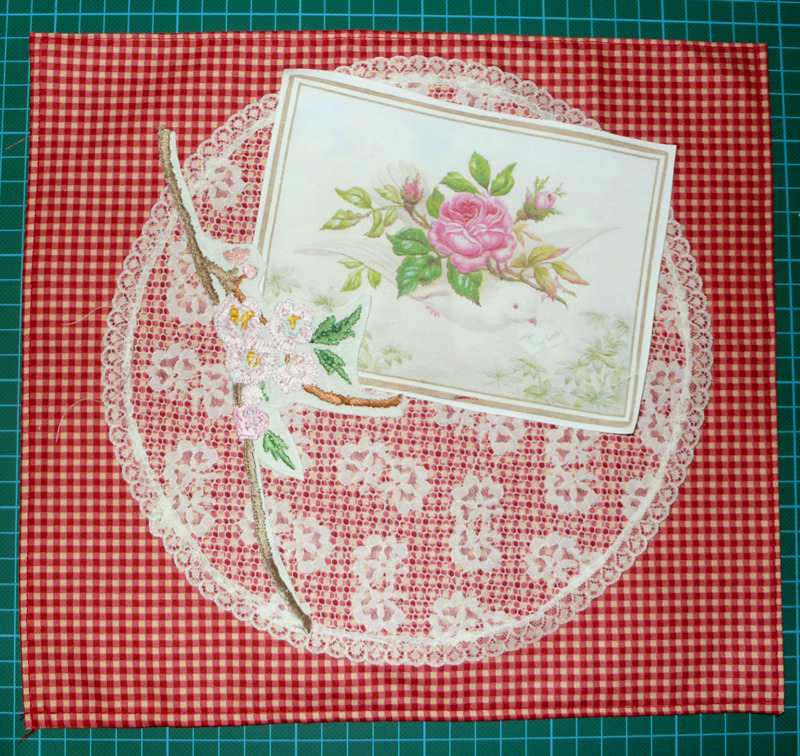
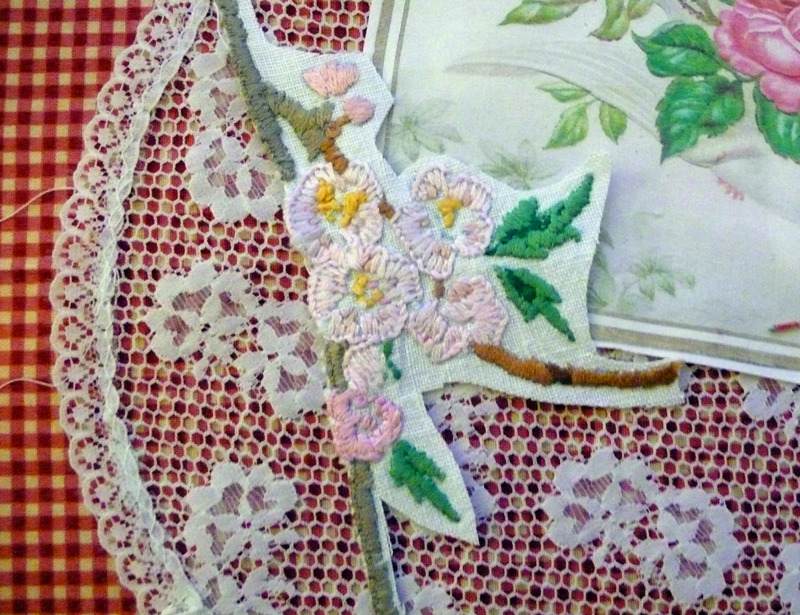
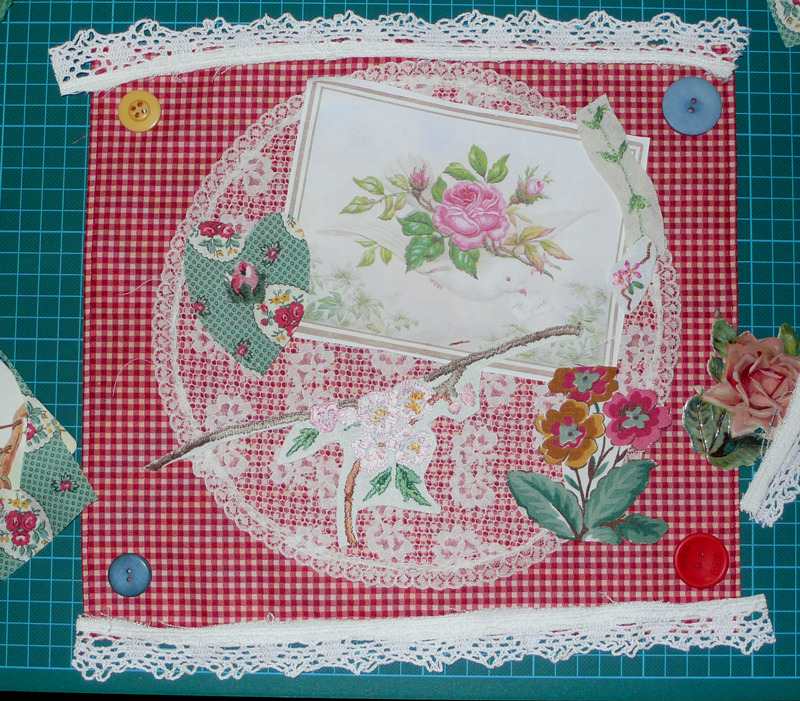
Next have a look at your bits of fabric and lace and start playing with the design of your piece. This craft pack came with a lace doilie and a print of a dove with flowers so I tried to follow a pink, floral theme with bits of cut up embroidery that matched the print.
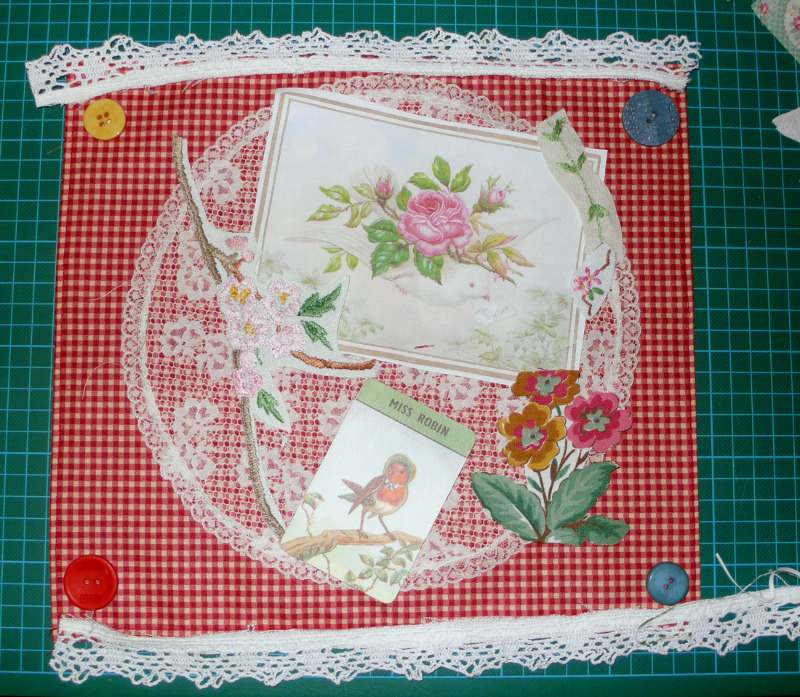
I found a piece of vintage cotton and cut out one of the flowers from that to add to the picture, I also added a couple more pieces of the embroidered linen and some buttons in the corners. Some old crochet trim looked good added to the top and bottom as a decortaive trim too.
There was a vintage card in the craft set with a Robin and I thought about adding that but in the end I changed my mind and cut a heart shape from another of the pieces of vintage fabric. The overall theme was birds and flowers and I kept to a broad palette of pinks and greens.
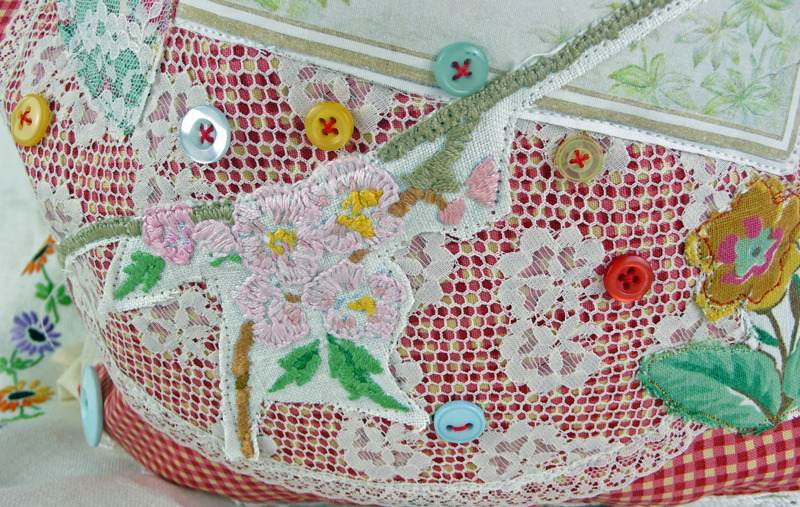
I was worried that the added heart shape stood out too much so I covered it with a piece of lace to tone down the colours. Once I was happy with my design I stitched everything down with invisible thread and then added some contrasting outlines with a bit of free machine embroidery. You could hand embroider this piece and hand sew the elements, or use fabric glue if you'd rather.
As a finishing touch I scattered buttons across the lace and stitched them with a contrasting thread. I attached the panel to the bag with a slip stitch.
|
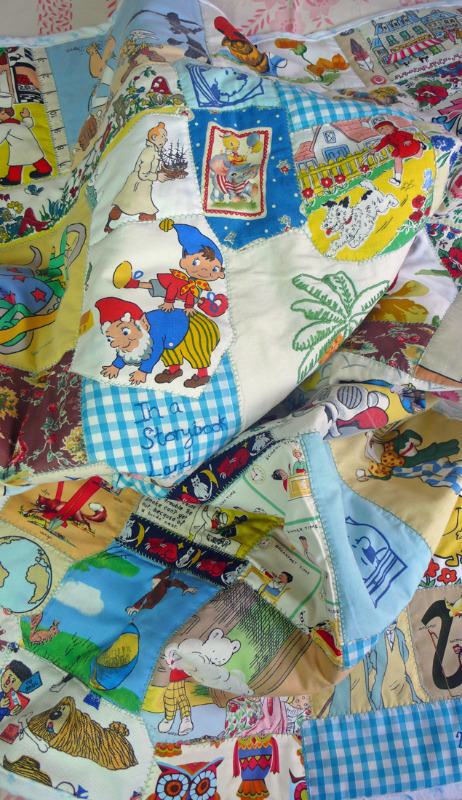 Crazy patchwork is liberating and fun - no measuring, no set pieces, no rules! It's the perfect way to use up all those special pieces of fabric to create a truly personal and unique panel. We'll concentrate on making one 30cm square on the course which you could make into a cushion, bag or wall hanging. Hopefully though you'll be hooked and will use it as the start of a beautiful quilt. If you've ever thought that Patchwork was too precise for you or been disappointed when your carefully sewn squares didn't quite meet up - come and live on the quilting wildside and throw caution to the wind!
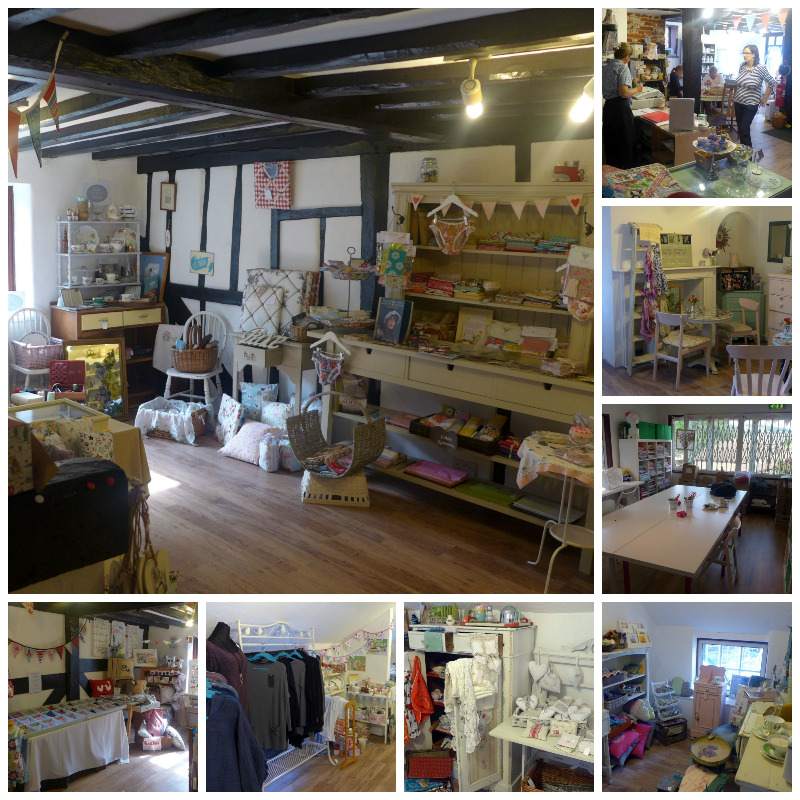 has been going since May this year and is now firmly established in the Surrey vintage and crafting scene.

 This bag was embellished by using the contents of one of the


